Upload .CSV Data
![]() Portal allows you to upload saved .CSV data to your portal. With this uploaded data, view your data on your dashboard and use
Portal allows you to upload saved .CSV data to your portal. With this uploaded data, view your data on your dashboard and use ![]() Portal’s data analysis tools to dive deeper into your data.
Portal’s data analysis tools to dive deeper into your data.
You can find the video guidance here at Client Portal – IntelliFlux Controls .
Before you start this, make sure you have a .CSV file that meet ALL the following requirements:
- A valid format timestamp column which follows “Year-Month-Day Hour: Minute: Second”.
- The name of all columns must be written in the first row of the CSV.
- Column names must not contain special characters (underscores are allowed)
- The values for the columns may be numeric (float), alphabetical/alphanumeric (string), or date (datetime)
- Your file must be comma delimited
Navigate to the Upload .CSV Data Page
- First, on the Portal homepage, navigate to the sidebar and hover the
 tools icon. Select
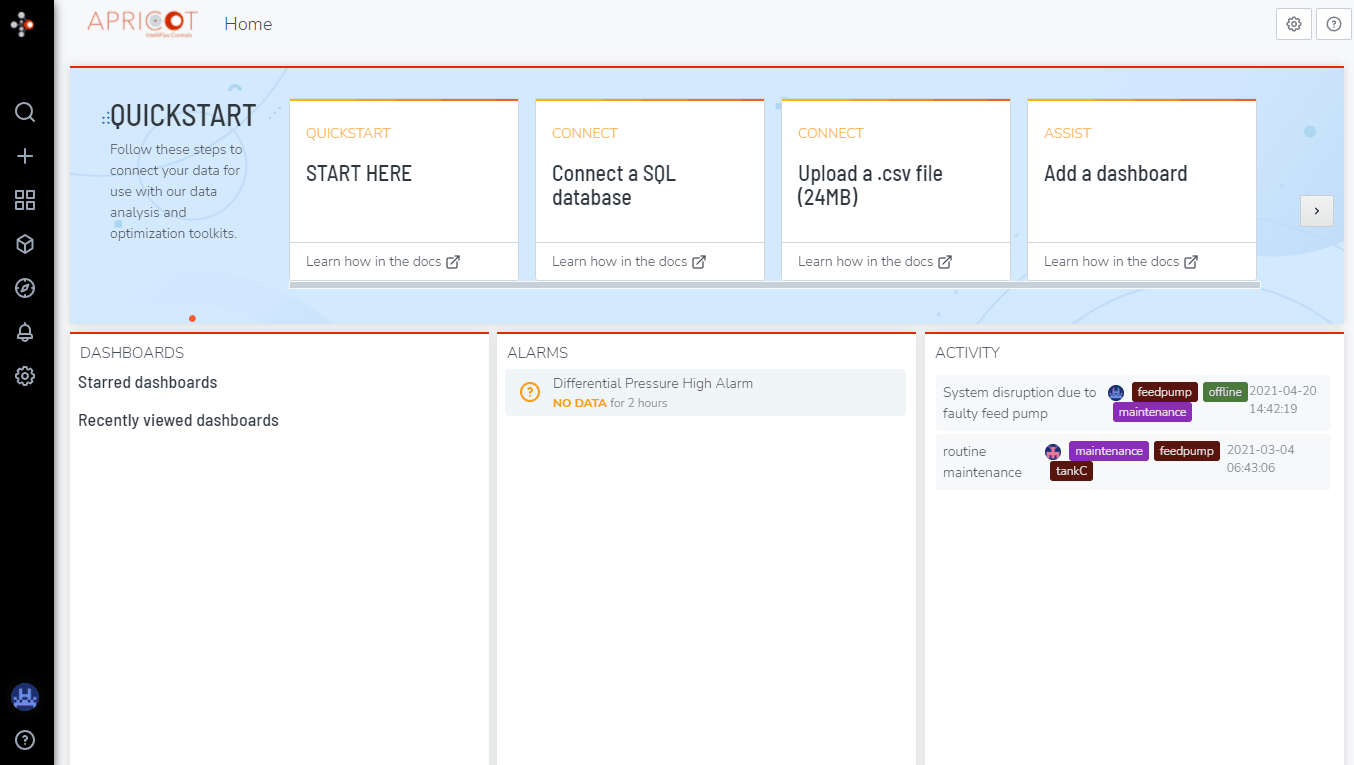
Upload a .CSV file
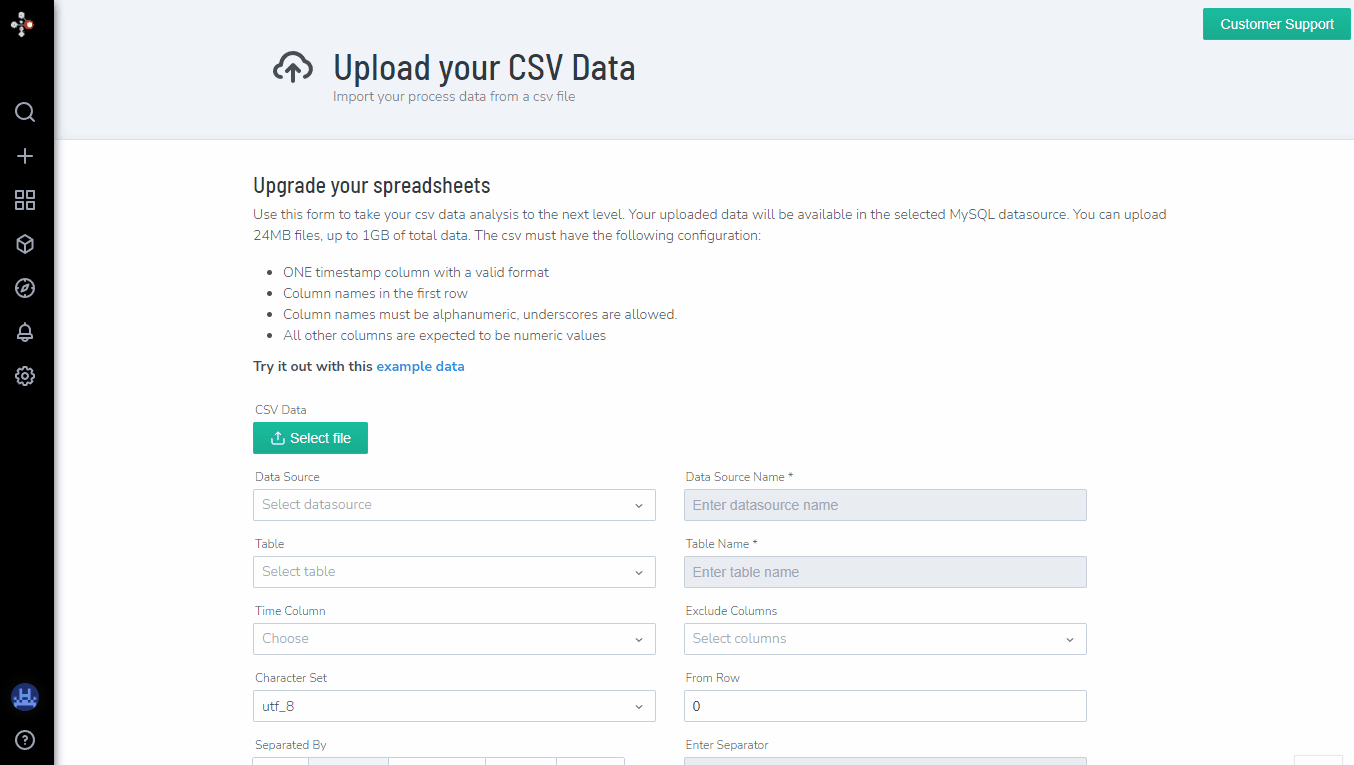
- Next, click on the
 button and choose the file that you prepared from your local device to upload. This uploads the file to a temporary buffer on your browser.
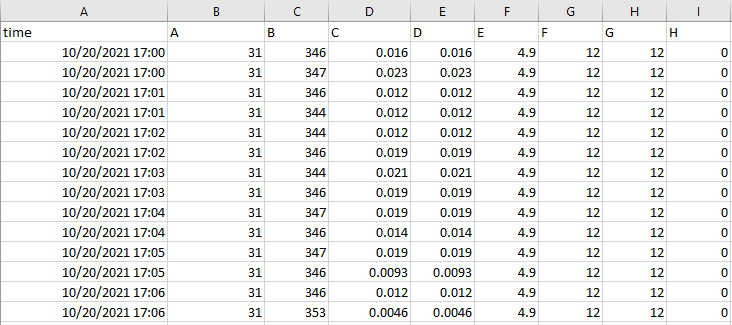
Example of valid .CSV file
example.csv (1.1 MB)
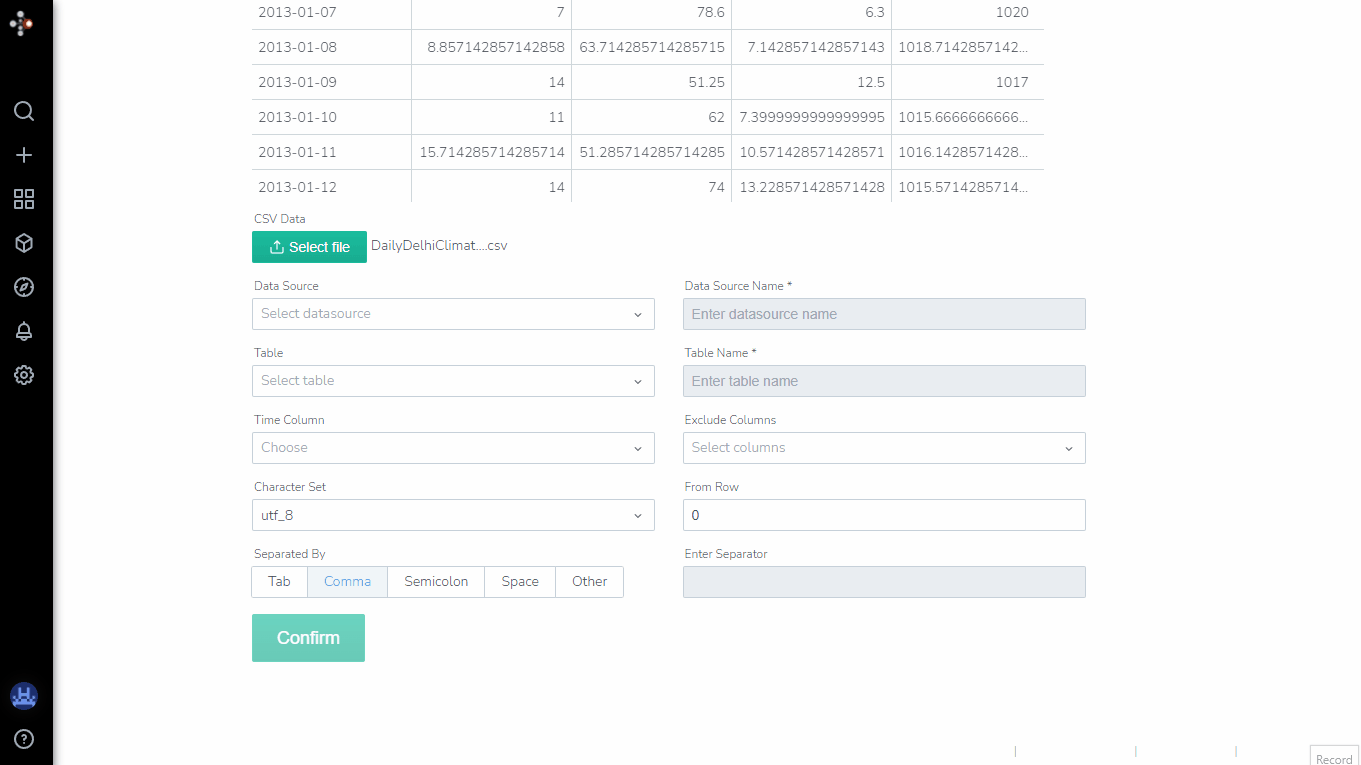
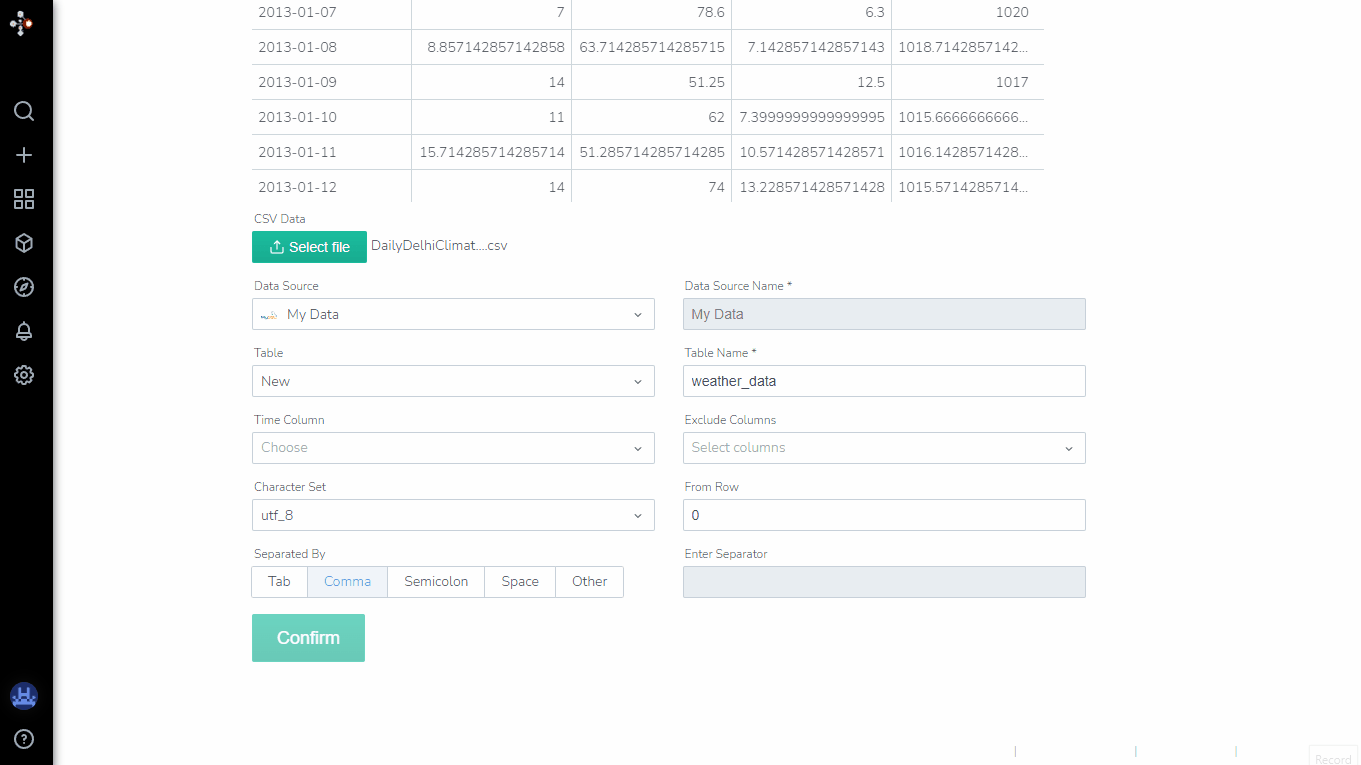
Select/Input upload configuration
-
You will now see a preview of the csv on Portal. It is recommended that you check the preview of the CSV and ensure it is the data you’re expecting as this is the data that will be uploaded to the Portal. You may also edit the names of the columns by clicking on the preview names and editing them.
-
Moving forward, you may select an already existing Data source. In this case, it will be automatically created for you with the name “My Data”.
-
Next, move down to “Table” and select “New”. Then, enter the name of the Table in the “Table Name” field to the right. Entering the table name is required before you proceed.
-
The name of the table must be alphabetic and it is case sensitive. Do not use other symbols or spaces.
-
Next, under “Time column” field, select the name of the column from the drop down menu that contains the time series data in your .CSV. After selecting the time column, the remaining columns of the CSV will display as new fields below the “Separated By” field. Each of the new fields correspond to the column names in your csv file.
-
You now have the option to exclude any columns you would not like to upload, and the option to choose the row from which you would like to start uploading the data.
-
Now, check the data type of each new column name that appears. By default, they are all of type “Float”. For each column, select the data type from the drop-down list to correspond to the data type in the csv file. - choose float if you have numerical values, string if alphabetical or alphanumeric values, and datetime if date values.
-
Then select
 This will upload your file to the APRICOT Portal.
Result
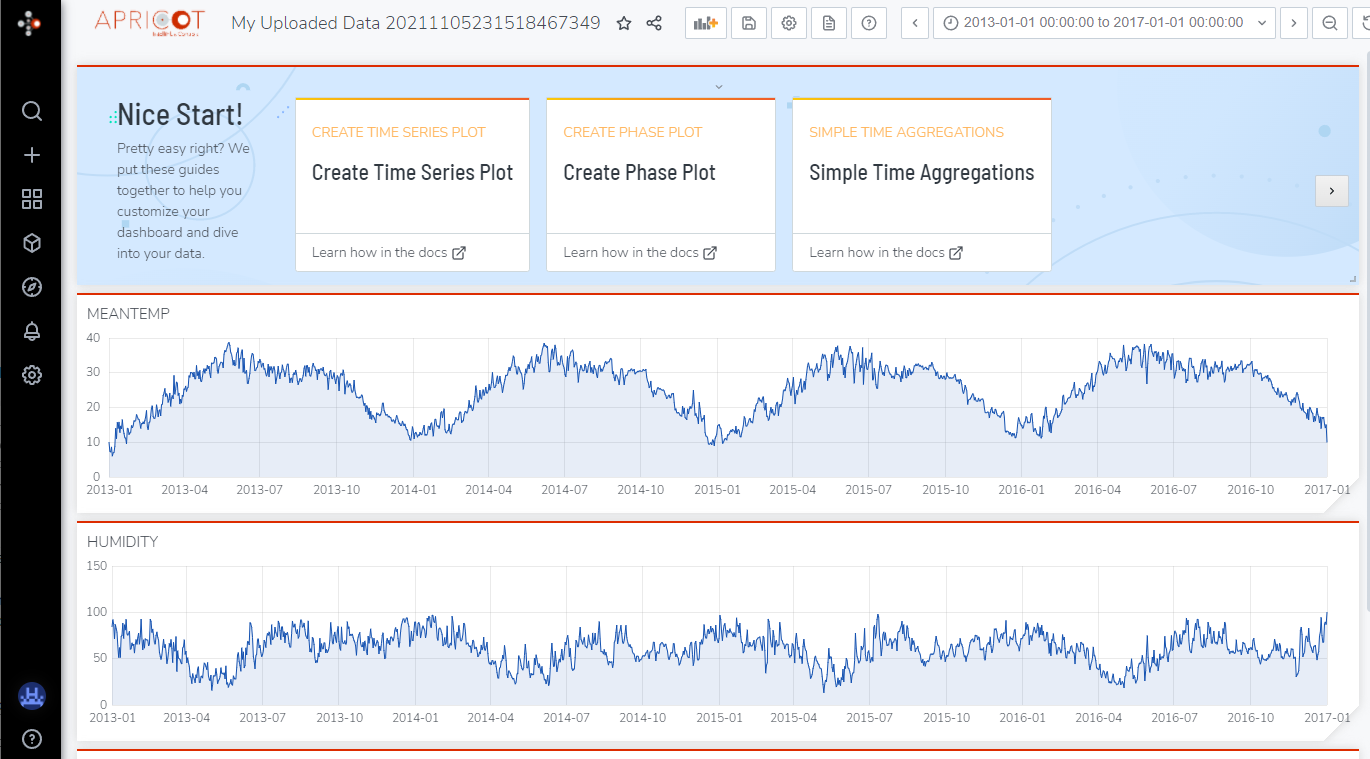
- After successful upload, a dashboard window will be displayed automatically with time series plots of your data.
- Now click on the Gear icon at the top of the page and go to the “General” settings page of the dashboard. Change the name of the dashboard to your desired name. Click “Save Dashboard” on the left hand side menu bar.