Tracking Excursions
![]() Portal allows you to create notifications on your panels to send alerts when desired. These notifications allow you to identify issues quickly and minimize disruptions to your system.
Portal allows you to create notifications on your panels to send alerts when desired. These notifications allow you to identify issues quickly and minimize disruptions to your system.
Set Alarm Notification Recipients
Before we start, you need to first create your notification channel to receive the notifications.
To do this, go to the side bar on the left and click on the bell icon.
Then in the main page, go to the tab “Notification channels” to add receivers.
Click on “Add channel” to add a new notification channel.
Here, we will add a new recipient with this email address.
You can use the Optional Email settings and Notification settings to further define how you want to receive the notifications and send a test notification by clicking on the “Test” button at the bottom.
Now click on “Save”, and you are ready to move on.
Add an Alarm to a Panel
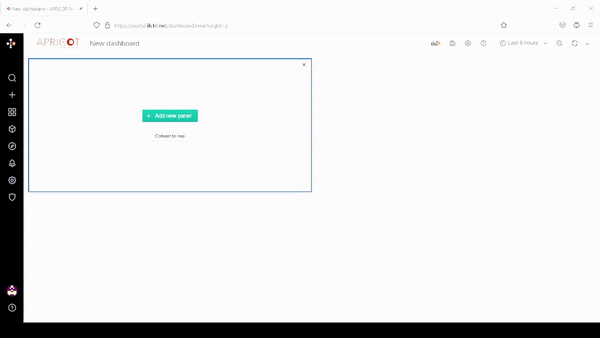
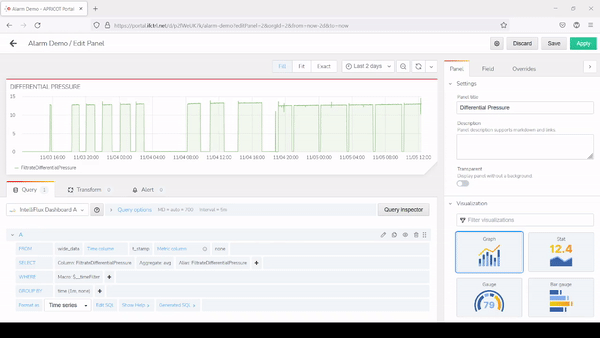
To begin with, you can either create a new panel or edit an existing panel of your targeting data.
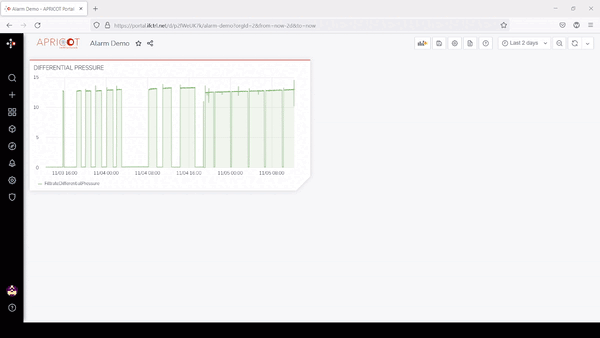
In this case, let’s add an alarm to an existing panel.
Click on the down arrow on top of your panel, and select “Edit” in the drop down list.
Check the query to make sure this is the expected value you want to add alert on.
Set Alarm Rule
Next, navigate to the “Alert” tab under the chart and click “Create Alert”:
First, we will set the notification rule under the “Rule” section.
Give the alert a descriptive name first.
Next, define the evaluation interval in field "Evaluate Every" . This is to specify how often the rule should be checked.
Now, define the evaluation duration in field "For". This specifies how long the query needs to violate the threshold before the alert is triggered.
Set Alarm Conditions
Next, we will set the conditions for the notification.
- Select the aggregation function after “WHEN” from the drop-down list. This function controls how the values for each series should be compared to the threshold, for example, average, maximum, minimum, etc.
- The query definition defines which query from the Metrics Tab, and the time range of data to check.
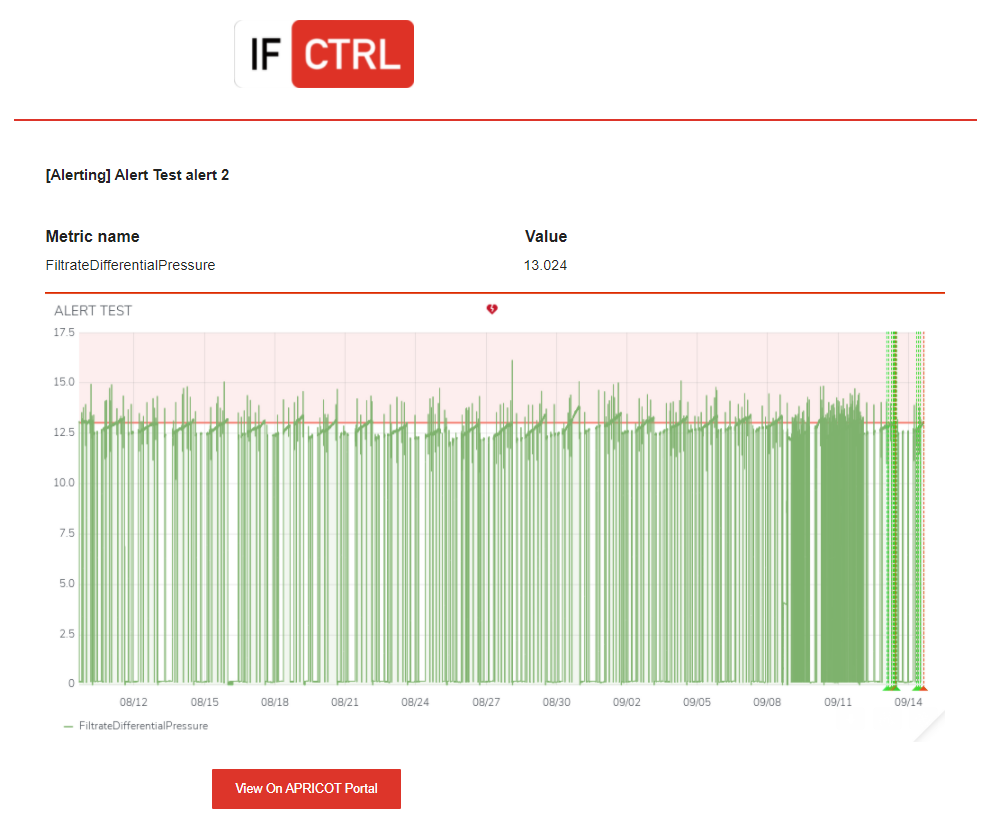
In this example, letter ‘A’ references our Filtrate Differential Pressure query in this panel. And the alarm will check the data within the time range of 5 minutes ago until now. If the average Differential Pressure during the time range is above 13.5, a notification will be sent.
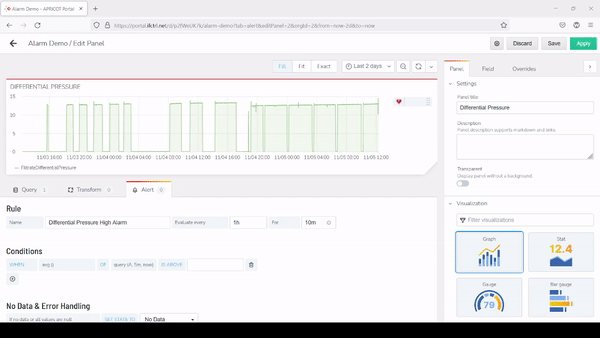
Set No Data and Error Handling
You can also define what status should the alert be in under cases of no data and error under the “No Data & Error Handling” section. In this example, we will just use the default settings.,

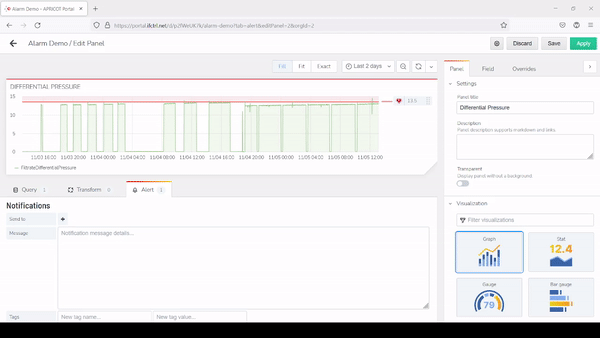
Set Notification Receiver in Alarm Settings
Lastly, we will set our notification receivers and message under “Notifications” section.
You can click on the “Plus” to the right of "Send To" to add a recipient from the drop down list. The drop down list includes the notification channels that you have created at the start of this video.
After setting up the alarm configurations, please make sure you save the dashboard.
Your alarm is ready and you will receive email notifications when anomalies are detected and don’t have to check your dashboard constantly.